
| Home | |
| Dart Tacking Outrigger |
|
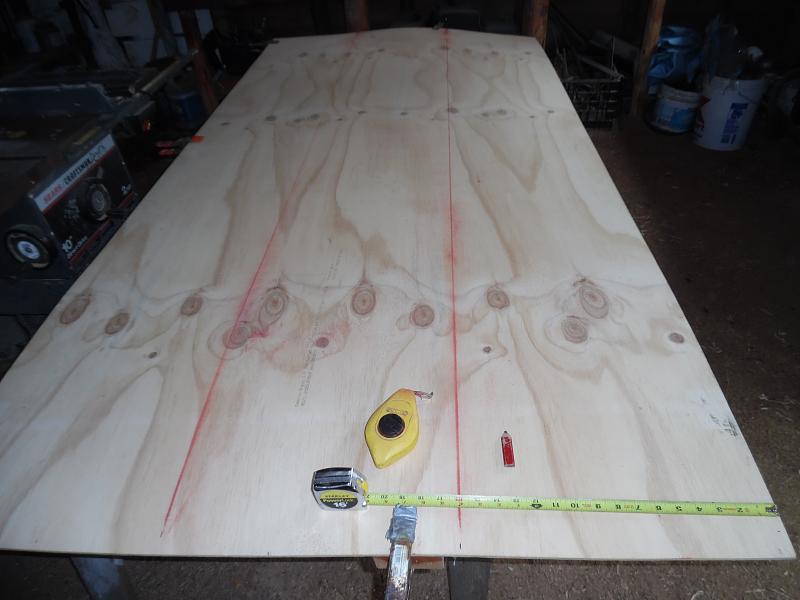
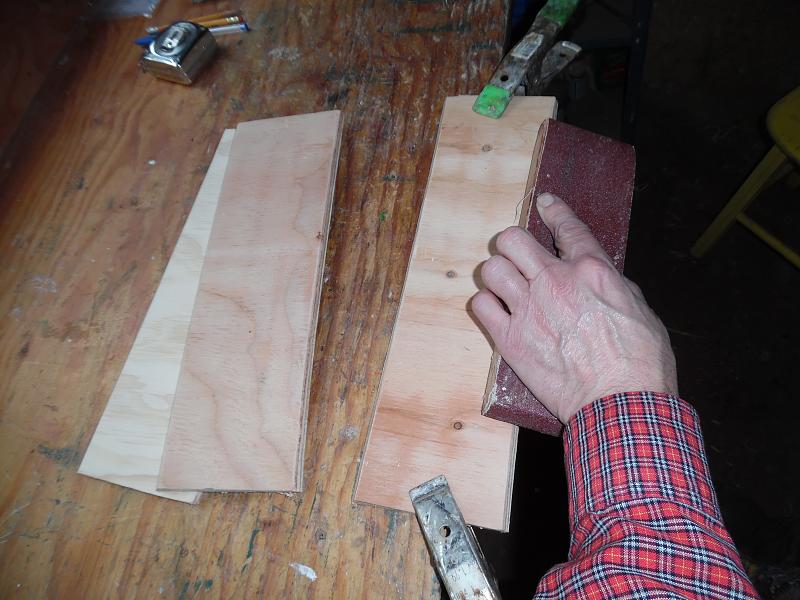
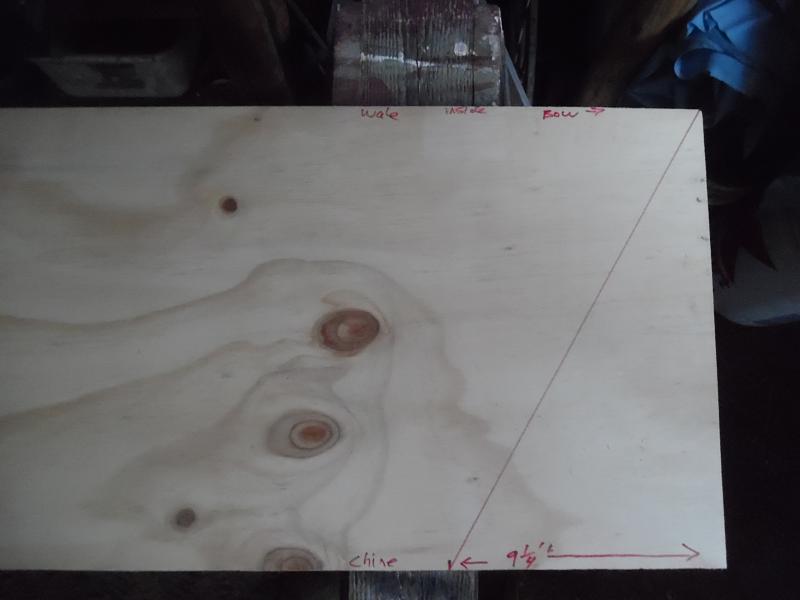
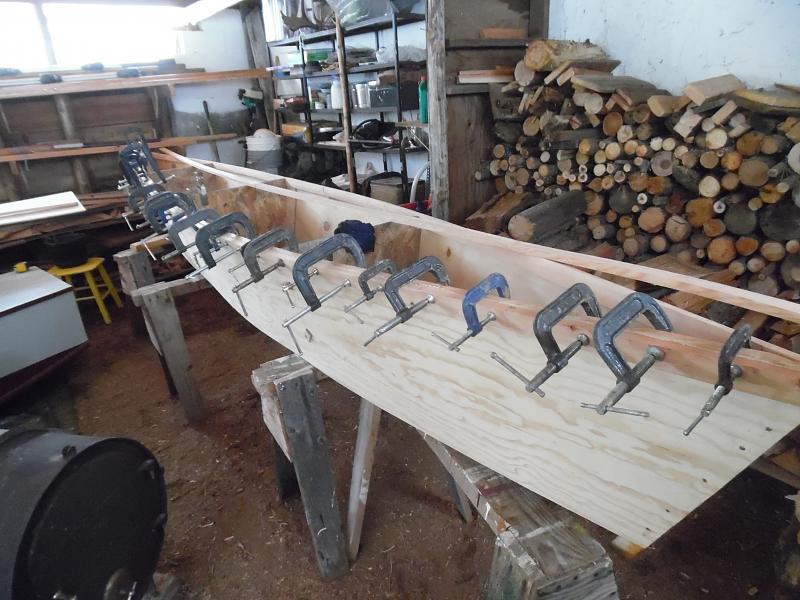
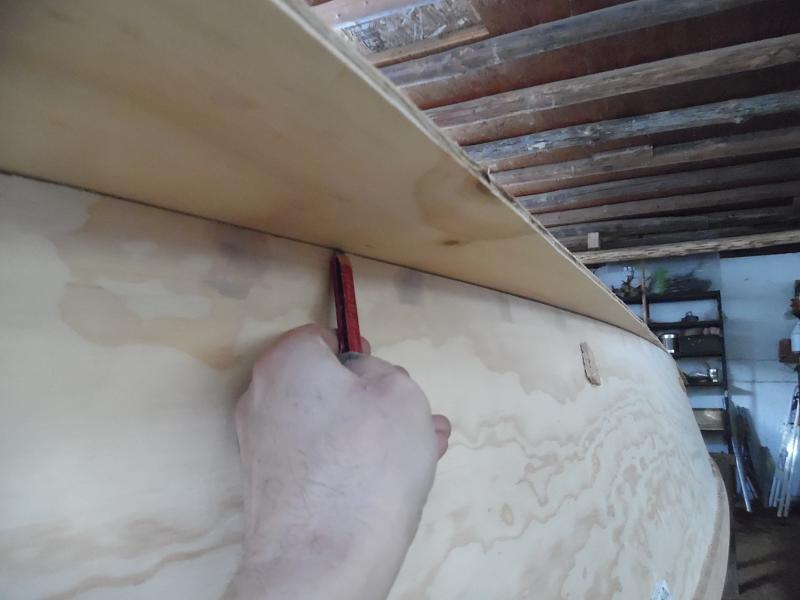
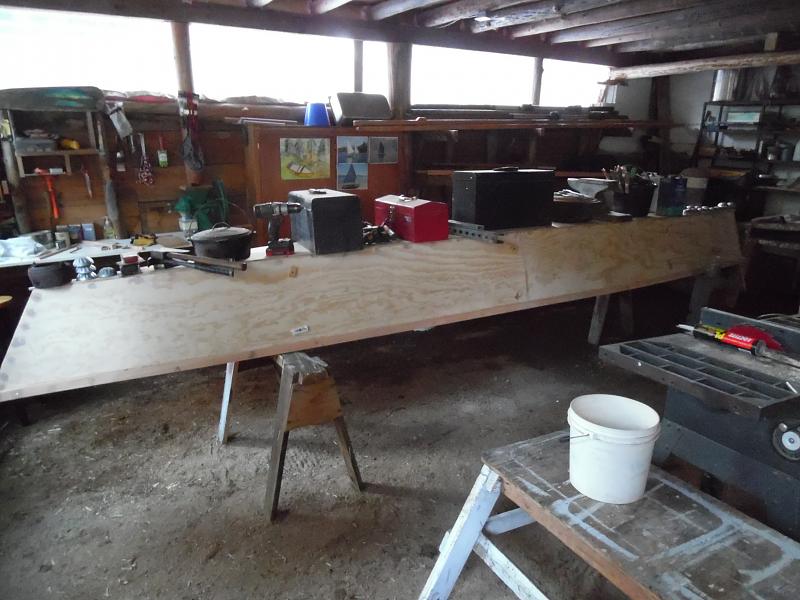
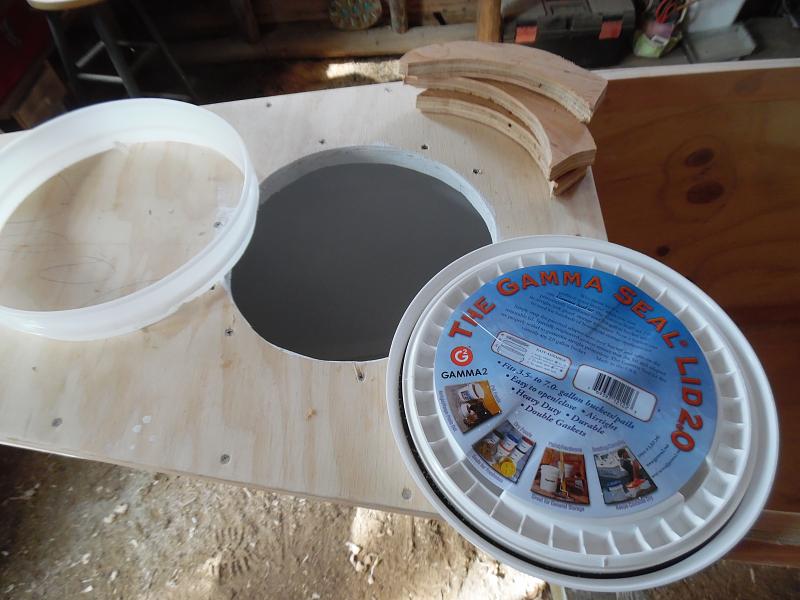
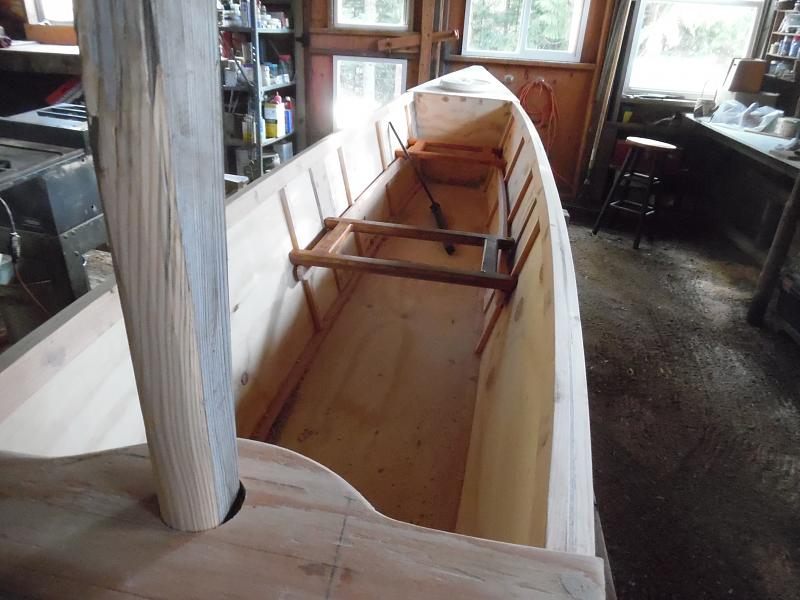
Dart Tacking Outrigger by Robert van Putten Please find below seventeen paragraphs, each paragraph relates to one of the seventeen photos from below. Yes ideally text should be with relevant photograph, but am tired and this will have to do, yes I know this is not ideal, however you should be able to figure it out Bout time I got around to starting this project! I designed and modeled this little boat last winter and was so taken with it that I had to make a full size one! It didn't help that there was a certain amount of talk on outrigger canoes around here, encouraging me! I got two perfectly good canoes already, like I need more? But, I'd like something I can sail, and the wife always prefers to paddle, so it seemed a good fit. It is intended as a 50/50 design, if there really is such a thing. It's just a simple "Three plank canoe", the biggest that can be gotten out of two sheets of plywood. Inspiration came from the Wharram Melanesia and the simple canoe featured in The Shed magazine. ( Make a simple outrigger canoe - The Shed (the-shed.nz)) It might be somewhat similar to the 16 foot version of Gary Dierkings Wa'apa. I've never seen plans for that boat and didn't know it existed at the time though, so I can't say for sure. The model, temp frames and design notes. My wife bought me four sheets of plywood as a gift more than a year ago (good timing!). It came from a local hardware store. It's marked AC exterior and "Product of Chile". Does anyone know what the heck they make plywood from down there? The 1/4 inch ply has three equal size layers. There are no plugs, putty or "footballs" at all, as one sees on Fir plywood. The A side is pretty durn perfect. The C side had many knots. They are tight, but there is lots of 'em and on one sheet they form lines across the ply. I'd probably have passed on that sheet because of that. Otherwise, it looks like great plywood. Lets hope they use good waterproof glue on exterior plywood down there! Construction starts by zipping two sheets of ply into 16" strips. Three 4" wide strips are cut off the end of one piece of plywood and cleaned up for butt blocks Then the six pieces of ply are made into three. The short piece the butt blocks were cut from will form the bottom panel. That's all three there, two are stacked. I used lots of Titebond III glue, short stainless steel screws and plenty of weight. Wax paper under the boards prevents them from being glued to the saw horses. In the summer I do this kind of thing outside on the lawn. Spring and fall I'll try it on my hayloft floor but this time of year it gets done in the shop as close to the wood stove as I can manage! Bow and stern are cut at 60 degrees. I dithered endlessly about making the stern angle more like 40 degrees, but decided to follow the model. But wait, there's more! The next day the sides are wrapped around the temp forms. Looks like a boat! I measured the bow and stern angle at 22 degrees with my handy dandy Harbor Freight plastic "angle finder". Cut that in half for 11 degrees, transferred that to a bevel gauge, then adjusted the table saw to that angle, and zipped out two stem pieces. It's a pretty small piece of wood, but I was able to use 1" screws to fasten the sides to it by putting them in at an angle. The in-and-out wales are 1/2" x 1-1/2", ripped out of a nice fir 2x6. I thought about making them smaller but since there isn't supposed to be a center thwart I figure I need them fairly beefy to help it hold it's shape. Fitting the inwale to the bow and stern stem is a royal pain! I hate compound bevels and am just not good at 'em. The first went in OK, the second sorta OK, but I'm gonna slap a small bow and stern deck over the ends to hide them! The wales are in now and she is ready to flip for chine logs and the bottom. I'll post more in a week or so. And yes, I moved it to a different part of the shop! Meanwhile back out in the shop - Time to fit the bottom. I did this the quick way with a belt sander. Yes, I moved the boat yet again. Got Trinket ?out in the snow. Marking and cutting the last 16" wide strip of ply for the bottom. I had to put the chine logs inside the boat instead of outside in Instant Boat fashion, otherwise it would be a little too narrow. Glued and nailed down. I had just enough bronze boat nails left for this job. If the bottom ever comes off I can say it was my wifes fault! I put everything heavy I had on hand on it and let the glue harden overnight - Flipped back upright I planed the wales down for 4 foot decks on both ends. I really would rather make shavings than sawdust, not sure why I used the belt sander on the chine logs. Besides, shavings are the very best thing to start the next days fire with, and make a nice floor... Of course I had to swap the temp OSB forms for nice 1/4" plywood bulkheads. I happened to have just enough 1/4" Fir AC ply leftover for decks and bulkheads. I guess this is no longer a two-sheet boat! I originally wasn't going to deck the ends, the idea being that the ama and crossbeams would store inside the open hull, and the boat would be lighter, making it easier to car-top. But, missions change. I've decided to try using this thing as a towed tender behind my new sloop instead of the typical eight-foot-pram. I can't imagine anything more stable than an eight foot wide outrigger canoe, so stepping from boat to canoe should be safe. Besides, did I mention the Wife HATES rowing? For towing though, I figured I'd better deck half the boat so it would float high totally swamped. Ya gotta cut the top off the bucket, cut a hole in the deck to fit and install a wooden collar around the hole inside. Then silicone and screw the bucket top in place and snap the gamma lid on. Note: Installing a gamma lid on a bucket is quite hard. It helps to put Vaseline around the lip first. Then of course all you do is unscrew the center part to get inside. It is gasketed and should be watertight. They are also sturdy enough to sit on when riding on the "Indian Seat". Well, we're getting pretty close to done now. The mast step was next. Ideally, I think this should have been an extension of the deck, but I didn't have a chunk of ply long enough for that so it is a separate piece of 3/4 ply I had. I'm going to set the boat up for a 2" mast, and try the 69 sq. ft. lanteen we're gonna sew up (any day now, really...) for Trinket. That's a bit bigger than the 52 sq. ft. sprit rig I modeled the boat with, and I may very well go with the smaller rig later on. This is supposed to be a comfortable cruiser, not a hot rod, and the boomless sprit rig is easier to roll up and store across the crossbeams. Then the seats. I put stringers into the boat just like the model has. This probably isn't needed, and I wince at every extra pound I put into this thing, but I really miss stringers when I don't have any in a boat. What else do you wedge stuff under and you tie stuff to? And they support the seats, of course. One seat is re-used from another canoe, and one laminated up myself. We'll weave 'em this week, and I think I'll even make a folding seat back for the forward seat! Talk about luxury! Now I gotta dream up a way to attach the cross beams. Note that this is a car-top boat, so NOTHING goes on the gunwales, which would make it difficult to slide up onto racks. Thus, the crossbeams go thru the boat below the wales. I'm still trying to figure this out. The snow is melting off fast now, soon I'll be able to get our jeep up to our homestead, and that means I'll be able to buy another sheet of ply to make the ama. I think I'll put yet another Gamma lid hatch in it. I read of a case where some smart feller stored several gallons of drinking water in his ama, which kept it out of the way and added much needed ballast to the outrigger. I think I'll do the same, I wouldn't mind an extra five gallons of water stored there when cruising in our sloop Kaylee and towing ?Dart. |
 |
 |
 |
 |
 |
 |
 |
 |
 |
 |
 |
 |
 |
 |
 |
 |
 |
| Home |